Projectors have become a cornerstone of visual presentation across various environments—from home theaters and business meetings to art exhibitions and trade shows…
Introduction
Projectors have become a cornerstone of visual presentation across various environments—from home theaters and business meetings to art exhibitions and trade shows. But when choosing the right projector setup, many users are left wondering: What’s the difference between front, rear, and side projection? Which one fits my space and needs best?
As a projector manufacturer with over 10 years of industry experience, Toumei breaks down the core differences, benefits, and limitations of each projection method—helping you make an informed choice that fits your space, budget, and viewing goals.
1. Front Projection: A Classic Choice for Everyday Use
How it works:
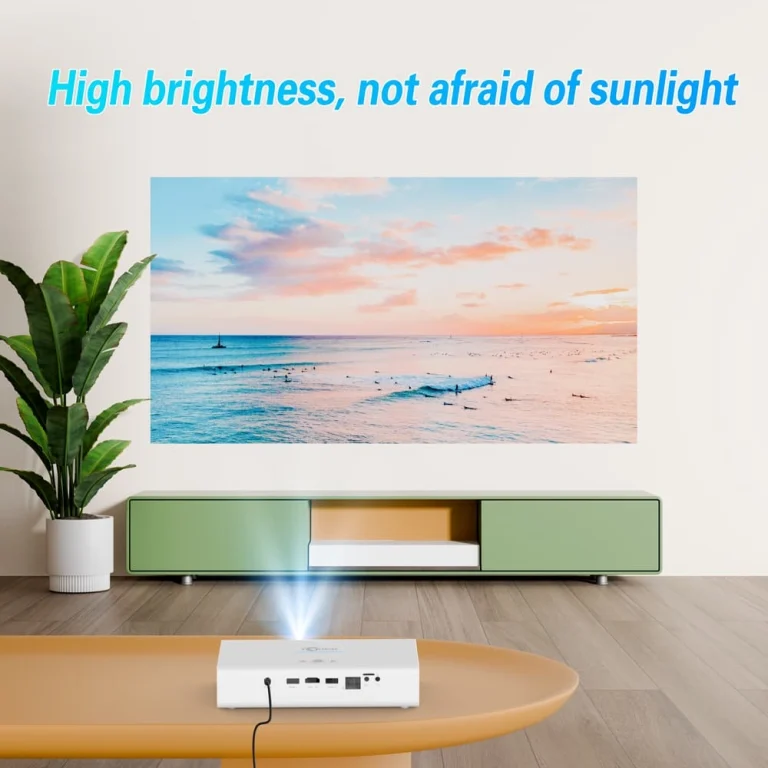
The projector is placed in front of the screen, on the same side as the viewer. Light reflects off the screen back to the audience.
Key Advantages:
– Easy Installation: Minimal wiring and setup. Ideal for beginners and average households.
– Budget-Friendly: Most entry-level home theater projectors under $500 adopt front projection.
– Flexible Display Surfaces: Works well with white walls, standard screens, or anti-light screens.
Typical Use Cases:
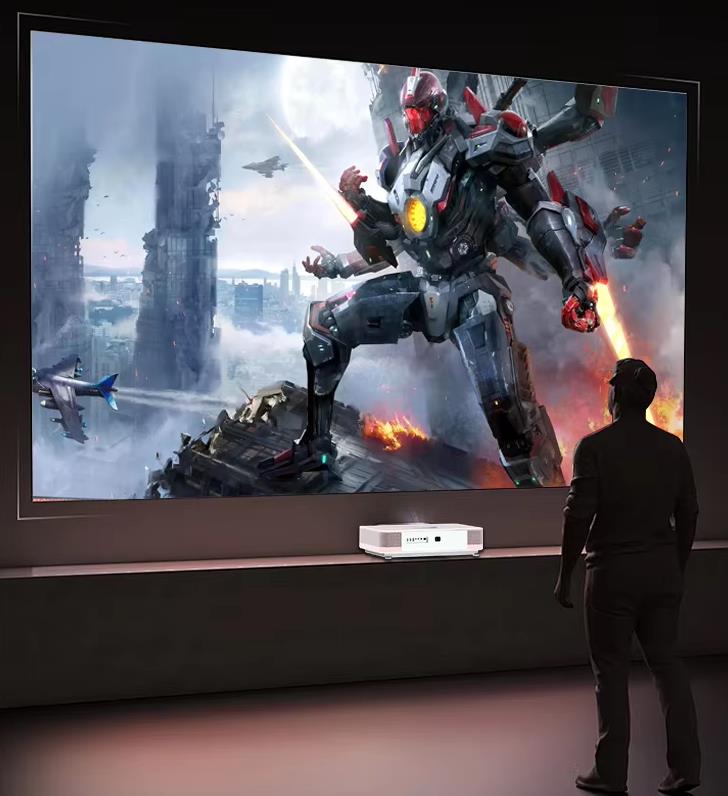
– Home living room cinema setups
– Small meeting rooms
– Classroom teaching environments
Watch Out For:
– Potential for shadow interference when people walk in front
– Best used with an ALR (ambient light rejecting) screen to enhance contrast (up to 30% improvement)
2. Rear Projection: Premium Immersive Visuals for Professionals
How it works:
The projector is placed behind a translucent screen, and light passes through the screen to the audience.
Key Advantages:
– No Shadows or Glare: Delivers clean, undisturbed images—ideal for precision visuals
– Professional Aesthetic: Projector remains hidden, perfect for high-end design installations
– High Clarity in Bright Spaces: Maintains performance even in high ambient light
Typical Use Cases:
– Holographic museum displays
– Mall window advertising
– Executive conference rooms
Watch Out For:
– Requires at least 1.5m of space behind the screen
– Higher installation cost (typically 2–3 times more than front projection)
3. Side Projection: Flexible and Compact for Tight Spaces
How it works:
Utilizes keystone correction to project from the side, while still maintaining a rectangular image.
Key Advantages:
– Perfect for Small Rooms: No need for center placement—can project from corners or shelves
– Highly Portable: Ideal for camping, travel, or hotel rooms
– Smart Features: Most models now include auto focus and auto keystone correction, with accuracy up to ±2°
Typical Use Cases:
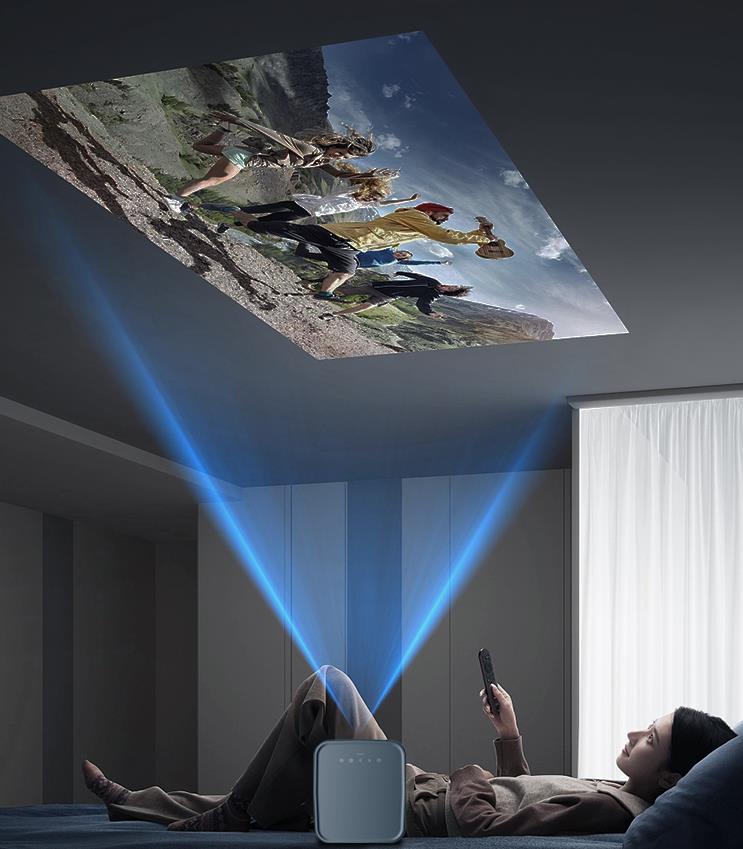
– Bedroom viewing in rentals
– Portable presentations for business trips
– Family movie nights outdoors
Watch Out For:
– Extreme angles can reduce image quality (keep under 45° side angle)
– Choose at least 2000 lumens of brightness to reduce brightness loss after correction
4. Quick Comparison Chart: Front vs Rear vs Side Projection
| Feature / Projection Type | Front Projection | Rear Projection | Side Projection |
|---|---|---|---|
| Image Clarity | Good (can be affected by shadows) | Excellent (no shadows) | Moderate (angle-dependent) |
| Space Requirements | Low | High (≥1.5m behind screen) | Minimal (flexible placement) |
| Ease of Setup | Easy | Complex (requires calibration) | Moderate (smart calibration helps) |
| Best Use Case | Home theaters, classrooms | Museums, exhibitions, high-end meeting rooms | Bedrooms, travel, camping |
| Cost | Budget-friendly | Higher (2–3× front projection) | Varies (depends on features) |
| Light Interference | Moderate (use ALR screen) | Low (screen blocks ambient light) | High (requires high-lumen projectors) |
5. Expert Recommendation: Match the Method to Your Needs
There is no one-size-fits-all answer when it comes to projection setup. Your decision should depend on:
– Room size and layout
– Lighting conditions
– Purpose of usage (entertainment, professional display, travel, etc.)
– Budget and installation preference
Conclusion:
For most users setting up a home theater projector, front projection remains the best all-around choice. If you’re aiming for a museum-grade visual experience, rear projection is worth the investment. And for those needing maximum portability and flexibility, side projection with automatic keystone correction is a modern lifesaver.
Need help choosing the right projector for your setup?
Explore Toumei’s range of DLP projectors, designed for everything from living rooms to large venues.


