


Creating a home theater experience starts with one critical decision: where and how to place your projector. A ceiling-mounted projector offers a clean look, saves space, and delivers the optimal viewing angle. This guide will walk you through how to ceiling mount a projector for your home theater setup.
Why Ceiling Mount a Projector?
Mounting your projector on the ceiling offers several benefits:
| Benefit | Description |
|---|---|
| Space-saving | Keeps your floor and shelves clutter-free |
| Consistent Image | Maintains screen alignment and stability |
| Safe Wiring | Cables can be routed through the ceiling or walls |
| Professional Look | Gives your room a polished, theater-style appearance |
What You Need Before Installation
Before drilling holes or ordering mounts, make sure you have:
1. A Suitable Projector
Choose a model that supports ceiling mounting, offers high resolution, and includes auto-focus or keystone correction for easier alignment.
2. A Quality Ceiling Mount
Look for a mount that supports your projector’s weight and offers tilt/swivel adjustments.
3. Tools and Materials
- Power drill and screwdriver
- Wall anchors or toggle bolts (if not drilling into a stud)
- Measuring tape and level
- HDMI and power cables
- Cable management tools (clips, channels, or conduit)
Step-by-Step Installation Guide
Step 1: Find the Right Location
Use the projector’s throw ratio to calculate the correct distance from the screen. A model with flexible throw distances gives you more freedom in placement.
Step 2: Install the Ceiling Mount
- Mark the drill holes using the mount as a template.
- Drill into a ceiling joist or use proper anchors.
- Attach the mount plate securely to the ceiling.
Step 3: Attach the Projector
- Connect the mounting arms to the projector base.
- Mount the projector onto the ceiling plate.
- Ensure it’s level using a bubble level tool.
Step 4: Cable Management
- Route HDMI and power cables through cable raceways or the ceiling.
- Use cable clips or zip ties to secure them in place.
Step 5: Align and Calibrate
- Power on the projector and align it with your screen.
- Use digital keystone correction and autofocus to refine the image.
Tips for a Perfect Setup
| Tip | Purpose |
| Measure twice, drill once | Avoids misalignment or extra holes |
| Test projector on a table first | Lets you preview image size and throw distance |
| Use a screen, not a wall | Increases image sharpness and brightness |
| Hide cables | Enhances aesthetic and prevents tripping |
Frequently Asked Questions (FAQ)
Can any projector be ceiling mounted?
Not all projectors support ceiling mounting. Check if your model has an inverted image option and mounting screw holes.
How far should the projector be from the screen?
This depends on the projector’s throw ratio. Refer to your device manual or use an online calculator to determine optimal distance.
Do I need a professional to install a ceiling-mounted projector?
Not necessarily. Many home users can complete installation with basic tools. However, for complex ceilings or hidden wiring, a professional may help.
How do I hide the projector cables?
You can use ceiling cable channels, raceways, or in-ceiling wiring for a clean look.
What if my projector isn’t level?
Use the adjustable mount, leveling tools, and digital keystone correction to fix the alignment.
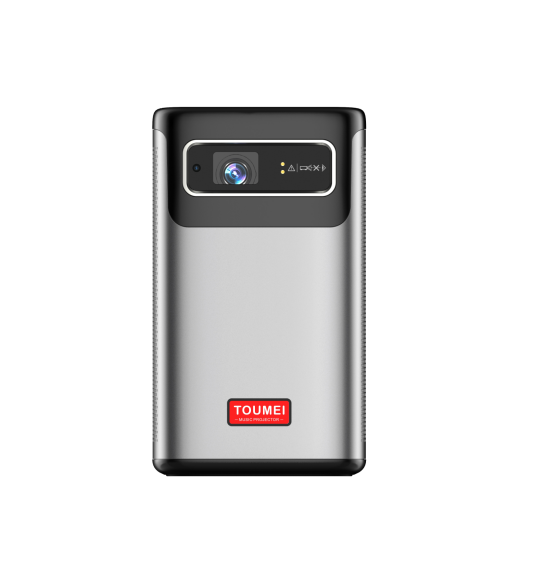
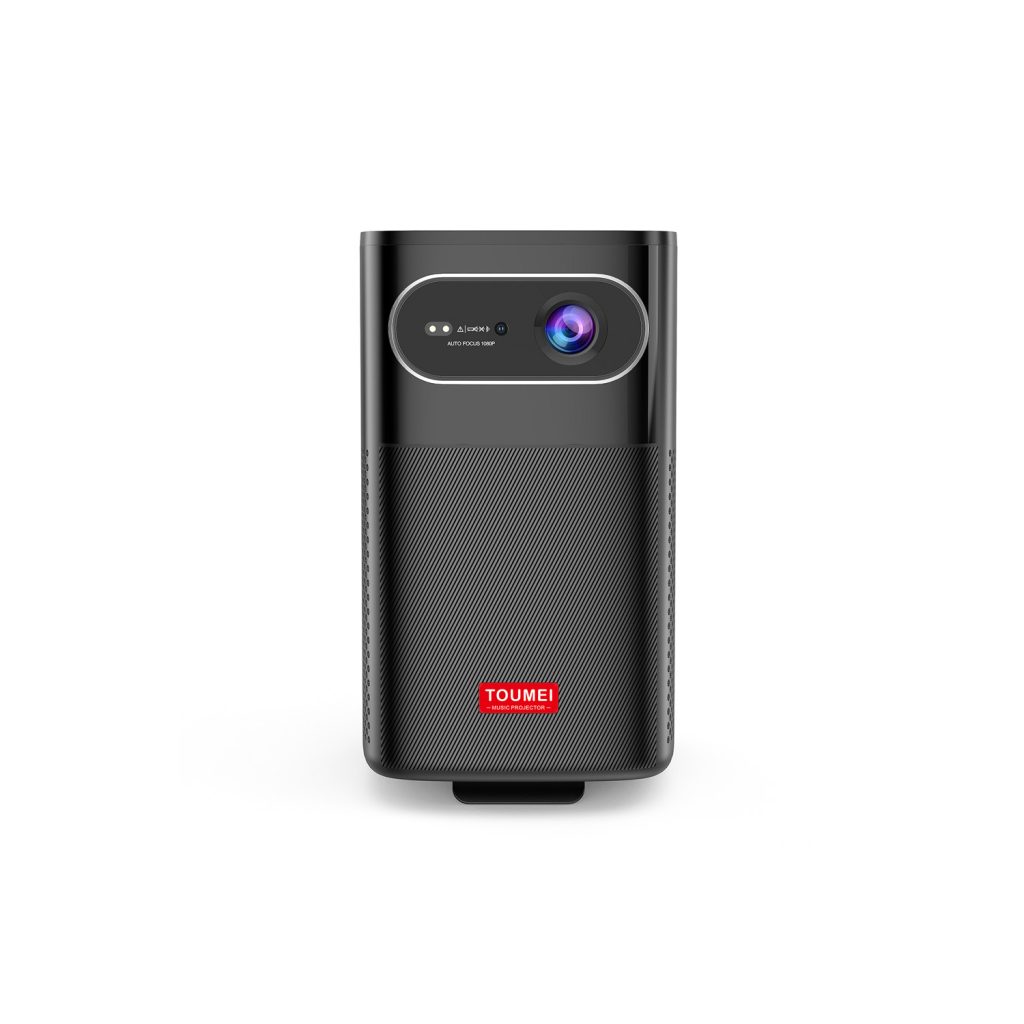
Projector Recommendation
For an easy-to-install, high-performance option, we recommend the TOUMEI X5. It offers:
- 4K UHD resolution
- Auto-focus and keystone correction
- Built-in Android system for direct streaming
- Compact, lightweight design for simple ceiling mounting
Explore the TOUMEI X5 here to upgrade your home theater today.
Ceiling mounting your projector is one of the best ways to optimize your viewing experience. With the right setup and tools, you’ll enjoy a clutter-free and immersive home cinema.


