Custom projector packaging should begin with a written packing specification, not a box graphic. Decide where the projector will be sold, what must travel with it, how the buyer will unpack it, and which parts require approval. Then ask for a sample that lets you check the actual projector, insert, accessories, documents, labels, and outer carton together.
For a portable projector brand, the practical goal is simple: the approved pack should be repeatable. A design may look convincing on a screen yet fail when a cable has no compartment, a manual hides beneath the unit, or a barcode lands across a fold. The workflow below turns those avoidable surprises into review points.
Start With the Sales Channel, Not the Box Artwork
Write one sentence describing where this projector will be sold. “Marketplace parcel delivery,” “independent electronics store,” and “regional distributor catalogue” lead to different decisions. The sentence gives everyone a reference when a designer proposes a larger box, a buyer requests another accessory, or a logistics team asks for a different carton arrangement.
Next, list the moments the package must handle. Include warehouse storage, picking, parcel transport, shelf display if relevant, opening, accessory removal, repacking, and returns. Do not solve each moment with more material by default. Instead, ask what could move, rub, become hard to find, or be mistaken for a missing item.
Brands comparing projector OEM/ODM options can include packaging in the first project brief. That keeps the retail pack connected to the chosen projector platform rather than treating it as a late decoration exercise.
Map the Shelf, Marketplace, Distributor, and Shipping Requirements
Create a short channel table before artwork begins. Use columns for display needs, shipping needs, required labels, language, included documents, and who approves each item. If the same projector will use two packs, name them as separate versions instead of relying on comments such as “online box” and “store box.”
For e-commerce, photograph the unopened pack, the insert, and every item laid out in order. For retail, make a plain mock-up at the intended size and view it from the distance at which a shopper will see it. For distribution, ask the receiver which carton marks and document pockets are operationally necessary. These checks give designers concrete constraints without prescribing the visual style.
Build a Portable Projector Packaging Specification
Begin the specification with the exact projector configuration. Record the approved unit, color, adapter, plug, remote, cable set, printed items, and any carrying accessory. Link each component to a named compartment or packing position. If an item is optional, state which pack version contains it.
Then define the order in which the customer should encounter the contents. A quick-start card may belong on top when setup guidance matters. A heavy adapter may need its own secure space rather than resting against the projector. A removable protective film, if approved for the product, needs an obvious removal path that does not look like damage.
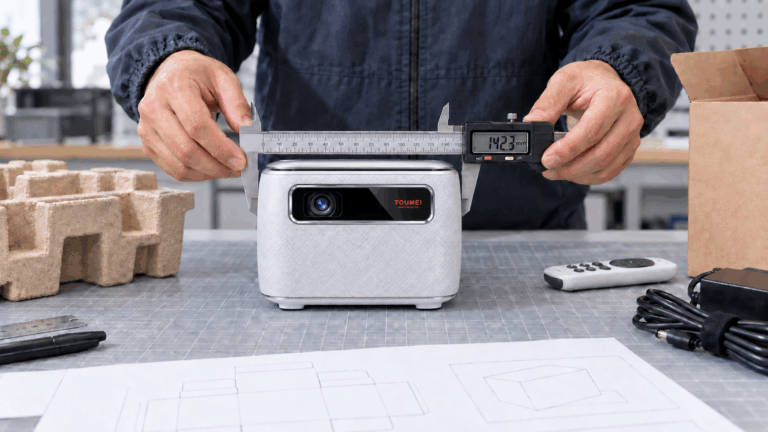
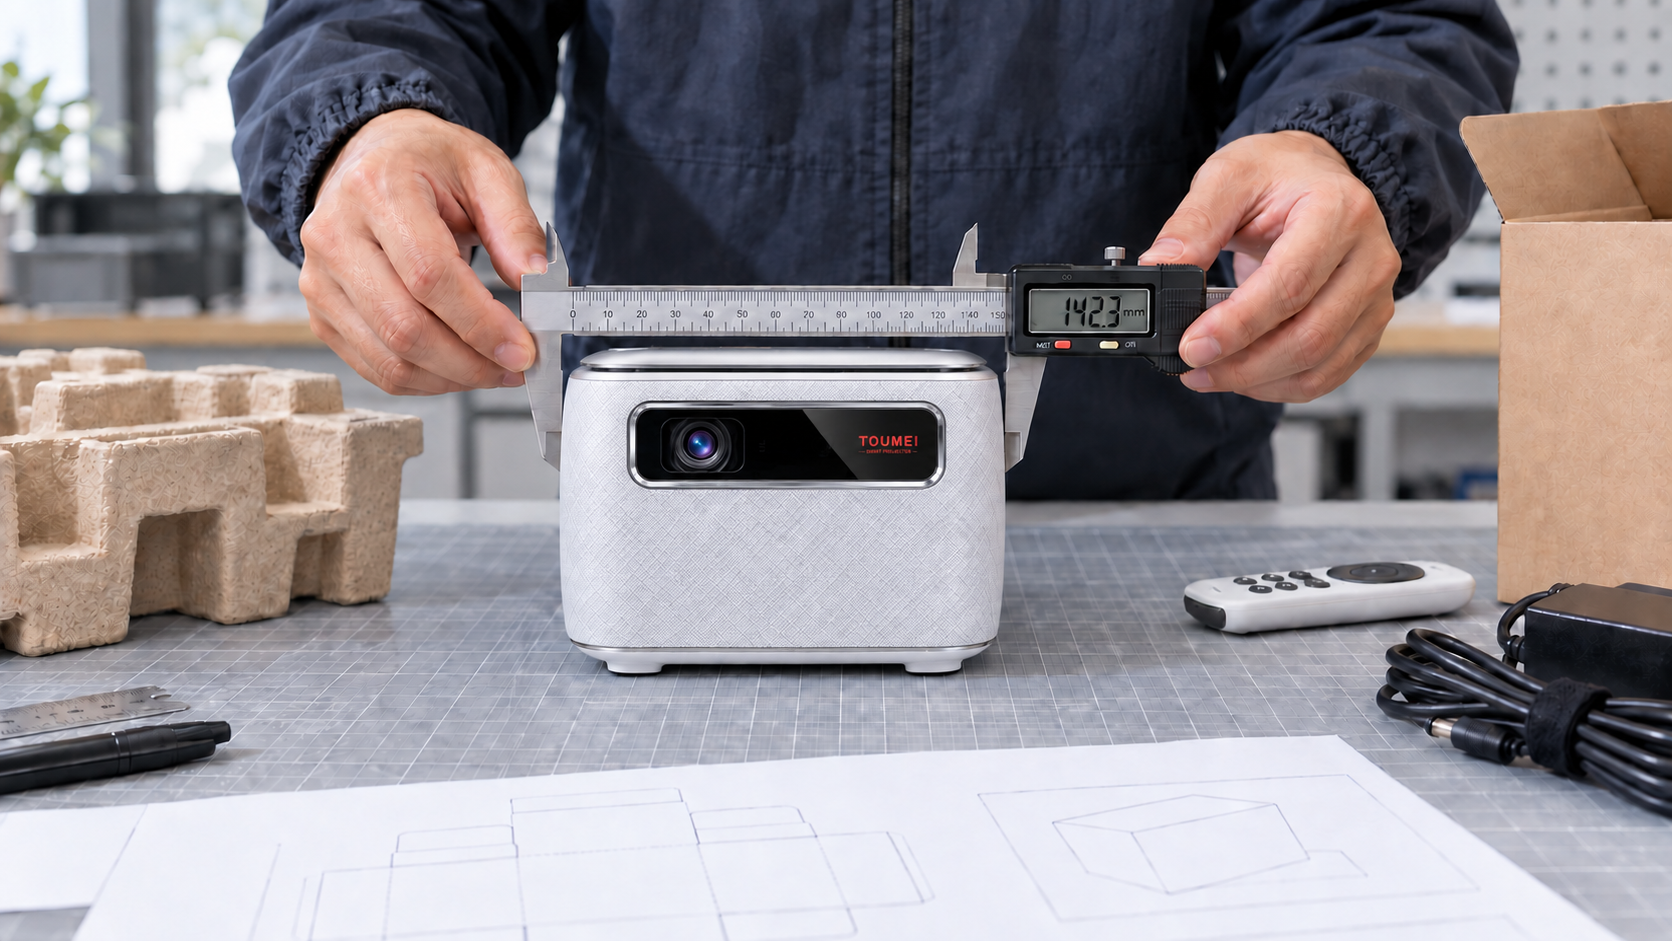
Use the physical product as the reference. A portable projector configuration can help the team discuss the relationship between the unit, accessories, gift box, storage item, and outer carton. Confirm the actual sample and packing list for the order; do not copy dimensions or contents from another configuration.
Define the Device, Accessories, Inserts, Labels, and Documents
A useful specification names five groups:
- Product: approved projector sample, finish, protective surfaces, and orientation in the insert.
- Accessories: adapter, plug, remote, cables, bag, batteries if applicable, and their positions.
- Protection: insert material, clearances, contact points, edge protection, and carton arrangement.
- Information: manual, quick-start card, safety or compliance labels required for the target market, and barcode ownership.
- Approval evidence: dieline revision, artwork proof, physical sample, photos, and sign-off owner.
Keep a blank area in the checklist for exceptions. When one accessory changes, the team should record whether the insert, artwork, weight information, packing list, or carton count also changes.
Test Projector Retail Packaging Before Mass Production
Ask for a physical packing sample when fit, surface contact, or opening sequence cannot be judged from a PDF. Put the approved projector and all order accessories into that sample. Close it, reopen it, and repeat the pack in the documented order. The purpose is to discover mismatches, not to stage a presentation.
Inspect the unit after removal. Look for contact marks, loose items, pressure on controls, trapped cables, or parts that can strike the optical window. Check whether the customer can identify every accessory without emptying the box onto the floor. Photograph any problem from the same angle before and after the revision.
Review Artwork, Fit, Handling, and the Unpacking Sequence
Run artwork and physical-pack reviews as two related approvals. The artwork review checks content, placement, language, colors, barcodes, and revision. The physical review checks size, fit, access, stability, and assembly. A signed artwork file does not prove that the insert fits; a good insert does not prove that the printed information is current.
When the project also includes product changes, use an OEM and ODM scope guide to separate the packaging deliverables from hardware, housing, and software work. That separation makes it easier to see which change is holding the pack approval.
Plan Private Label Projector Packaging With toumei projector
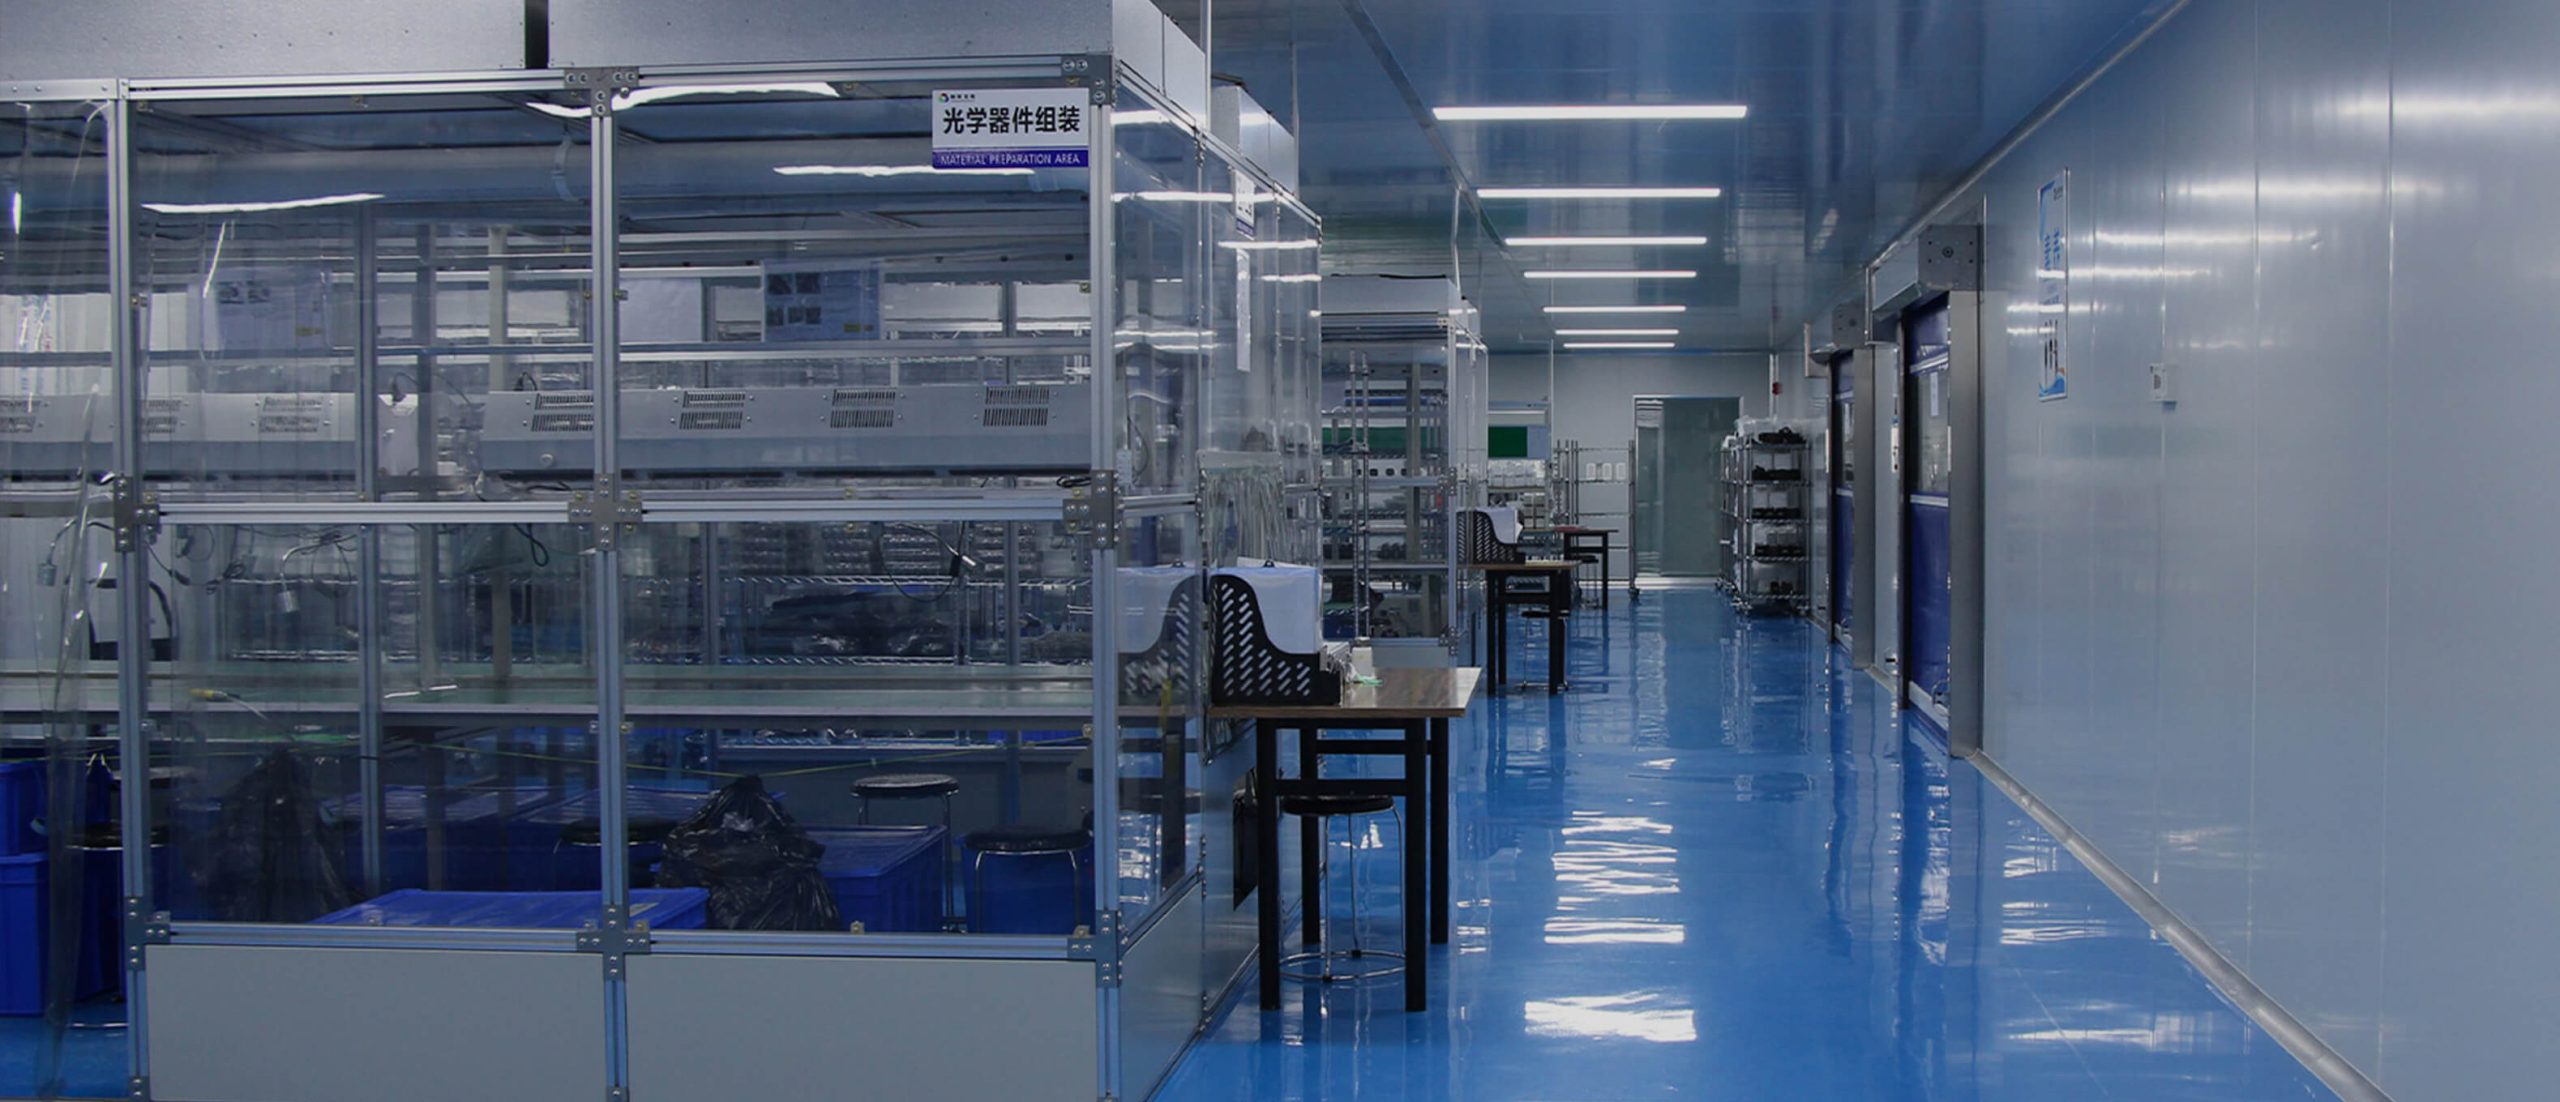
Toumei projector describes a development and manufacturing chain that includes optical design, software, motherboard hardware, structural design, mold development, assembly, and aging testing. For a packaging project, buyers can use that list as a prompt: identify which product decisions are already frozen and which may still change the pack.
Its current OEM/ODM information uses OEM to describe an existing projector platform with brand elements such as logo, housing color, packaging, and basic interface branding. Treat that wording as the supplier’s service classification, then write the exact packaging work into the proposal. A label such as “OEM packaging” is too broad to replace a dieline, material choice, insert drawing, accessory list, and approval record.
The company’s materials also describe quality checks during production. Ask the team which checks apply to the packaging version in your order, who holds the approved sample, and how a production pack will be compared with it. The answer should name a document, sample, or record that both sides can recognize.
For an initial discussion, prepare a one-page brief and the physical projector configuration. The B2B projector sourcing guide provides additional questions for organizing a supplier review. Keep your packaging decision tied to the intended sales channel and order scope.
Translate the Packaging Brief Into an Approval Path
Ask for an approval path with four named outputs: the structural proposal, the artwork proof, the fitted physical sample, and the production reference. Assign one buyer-side owner to consolidate comments. If marketing, compliance, logistics, and product teams send separate edits, the supplier may receive contradictory instructions.
Return feedback as a change list. For each item, show the current condition, requested change, owner, due point, and how approval will be demonstrated. Mark “no change” when a reviewed element is accepted; silence is easy to interpret differently.
Freeze the Approved Packaging Version
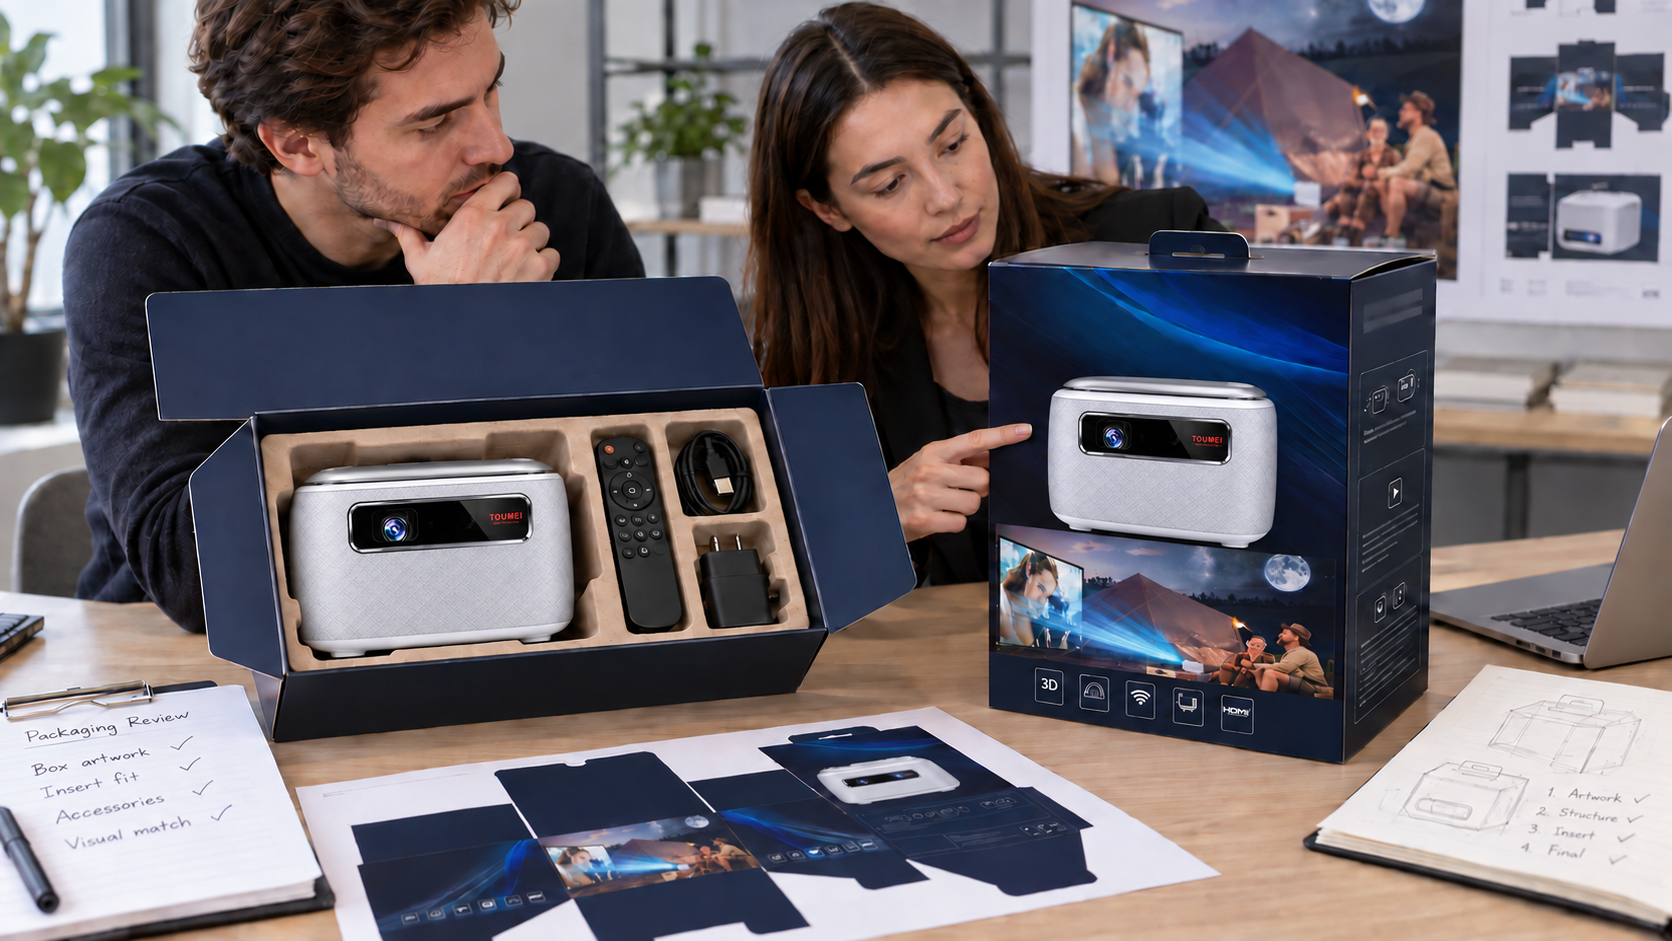
Freeze the pack only after the projector, accessories, insert, printed pieces, labels, artwork, and carton arrangement agree. Give the package a revision identifier and place it on the approval record. Store the final artwork and the photographs of the fitted sample together.
Before production, ask the supplier to repeat the packing list back in its own document. Compare names and quantities rather than assuming the same wording means the same component. If a late product change affects the pack, reopen the related approval instead of adding an informal note to a frozen version.
Control Artwork, Components, and Revision Records
Use one current change list. Archive superseded proofs so that nobody can mistake an old file for the approved one. The current list should identify the exact projector sample, every included item, the insert revision, artwork revision, carton arrangement, and approval date.
During production, request evidence that matches the decisions you made. This could be a first packed unit, a packing-line photo set, or a pre-shipment inspection item agreed for the project. Choose the evidence before production starts so that approval does not become a last-minute debate.