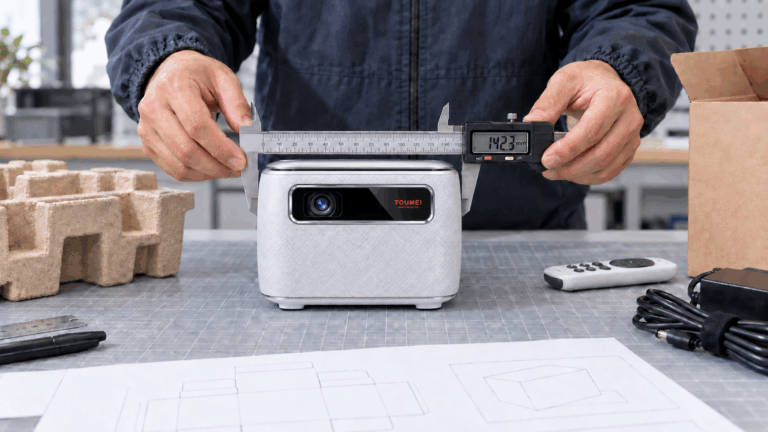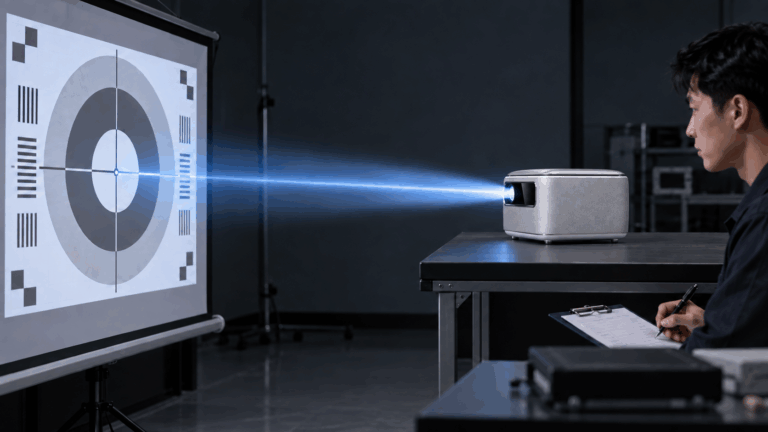
A projector quality control checklist should prove that the inspected units match an agreed reference and that important findings were closed before shipment. Begin with the approved configuration. Then define repeatable checks for picture, focus, connections, controls, appearance, accessories, and packaging. Record the result by defect category, owner, corrective action, and retest status.
This is different from writing “quality good” beside a sample. A usable record tells the next reviewer what was inspected, under which setup, on which units, and what happened after a failure. The checklist below is designed for brands, distributors, and purchasing teams preparing a portable projector bulk order.
Define What a Projector Quality Control Checklist Must Prove
Start with the decision the inspection supports. Is the team approving a development sample, checking a production batch, or deciding whether a shipment can be released? Put that purpose at the top of the form. One checklist can share test methods across stages, but the inspected population and release authority should not be confused.
Divide the sheet into four evidence groups: configuration, function, appearance, and packing. Add columns for the expected condition, observed condition, result, evidence reference, defect category, action owner, and retest. Leave room for notes that describe the problem precisely.
Separate Configuration, Function, Appearance, and Packing Evidence
Keep each check small enough to receive one result. “Projector works correctly” is too broad. Split it into power-up, image input, focus behavior, menu or control response, audio if included in the order, approved connections, shutdown, and cold restart. Write only the tests that apply to the ordered configuration.
Appearance checks should name surfaces and viewing conditions. Packing checks should identify the pack revision and included items. Configuration checks should record the unit identity, firmware or software reference when applicable, power accessory, remote, cables, and any market-specific item agreed for the order.
Lock the Approved Projector Configuration First
The checklist needs a comparison point. Identify the approved sample or specification by revision and photograph the unit, accessories, and packaging together. If software behavior is part of approval, record the visible version identifier or another agreed way to distinguish the build.
Do not silently replace the reference when a later sample arrives. Record what changed, who accepted it, and which checklist fields require an update. A change to the remote, adapter, interface, or packing list can affect several tests even when the projector housing looks unchanged.
For a sourcing project, an OEM and ODM scope guide can help separate an existing-platform order from deeper hardware, housing, or software changes. The checklist should follow the written deliverables, not the label on the quotation.
Identify the Sample, Firmware, Accessories, and Packaging Revision
Put these references in the checklist header:
- Projector reference: sample identifier, finish, and approved configuration.
- Software reference: firmware or interface revision when it affects the checks.
- Accessory reference: adapter, plug, remote, cables, bag, and printed items.
- Packaging reference: insert, artwork, labels, packing list, and carton version.
- Inspection reference: stage, date, location, unit or carton identifiers, and responsible reviewer.
When a field does not apply, mark it as such. A blank cell can mean “not tested,” “not present,” or “forgotten,” which makes later review needlessly uncertain.
Check Picture, Focus, Connections, and Daily Use
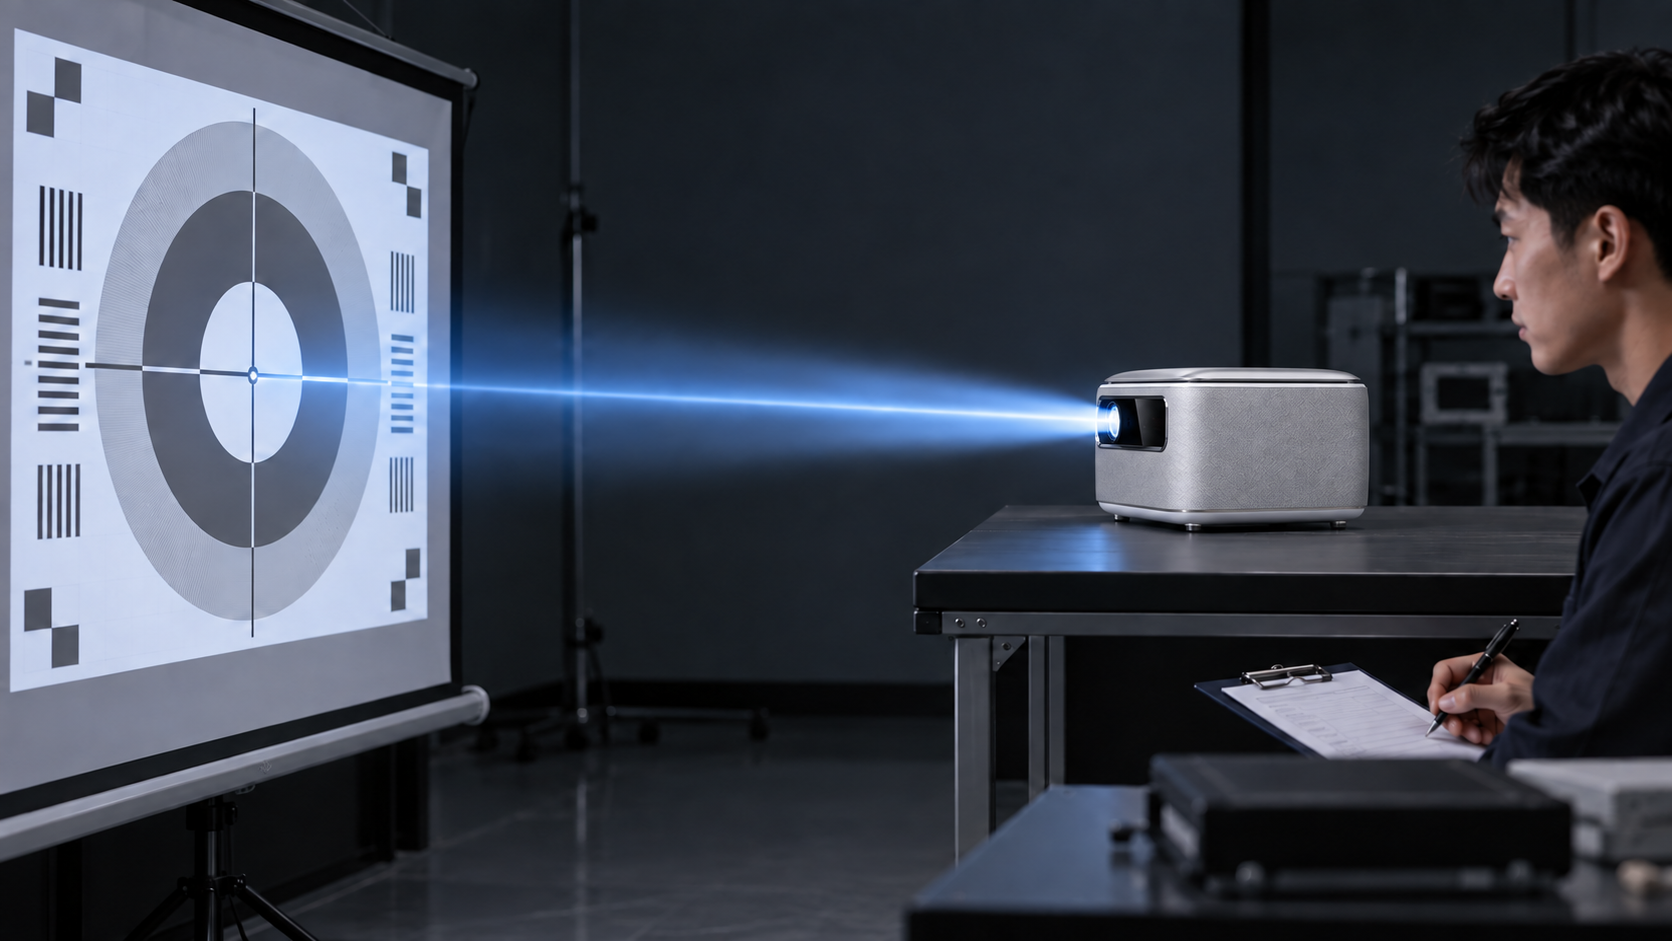
Use content that represents the customer’s projector use. Prepare a presentation slide with small text, a normal video clip, and a scene with darker detail. Keep the source file, connection method, picture mode, image size, room light, and viewing position consistent across the units being compared.
Inspect the center and edges of the image. Record what is visible instead of writing a vague verdict. “Upper-right text remains soft after refocus” gives the supplier something to reproduce; “picture bad” does not. If the expected result has not been agreed, keep the item open rather than inventing a universal pass mark.
Use the checks from a portable projector configuration only as prompts for the actual sample in hand. Confirm which inputs, controls, accessories, and functions belong to the ordered unit before adding them to the form.
Use Repeatable Content and Room Conditions
Write a short setup note that another inspector can follow. Include the source device, cable or wireless method, image size, projector position, room light, focus procedure, and content files. Photograph the test position when distance or alignment affects the observation.
Repeat a failed check after one controlled adjustment. If changing the cable resolves a lost signal, keep both the first result and the retest. That history separates an equipment finding from a setup variable and prevents the record from becoming a clean-looking summary that hides the investigation.
Inspect the Bulk Projector Order by Defect Category

Agree the defect categories before inspection. A critical category might cover a condition that makes shipment unacceptable for the project; a major category might cover a function or appearance issue that materially affects the intended offer; a minor category might cover a smaller deviation that does not stop intended use. Write project-specific examples beside the definitions.
The approved development sample is not the same thing as evidence from the production batch. A bulk inspection should identify the units or cartons selected from that batch and preserve how they were selected. The existing projector manufacturer sourcing guide can support the wider supplier review, while the order documents should define the actual inspection arrangement.
Record Critical, Major, and Minor Findings Without Vague Labels
For every failure, capture five items: the unit or carton identifier, the exact observation, the category and reason, a photo or video reference, and the next action. Avoid grouping unrelated problems under one line. A connection failure and a scratched housing can require different owners and different retests.
Count only what the agreed inspection plan requires. Do not turn a small inspected set into a claim that every unit is identical. The release decision should reflect the inspection scope, open findings, and any corrective action that still needs confirmation.
Discuss Projector QC With toumei projector
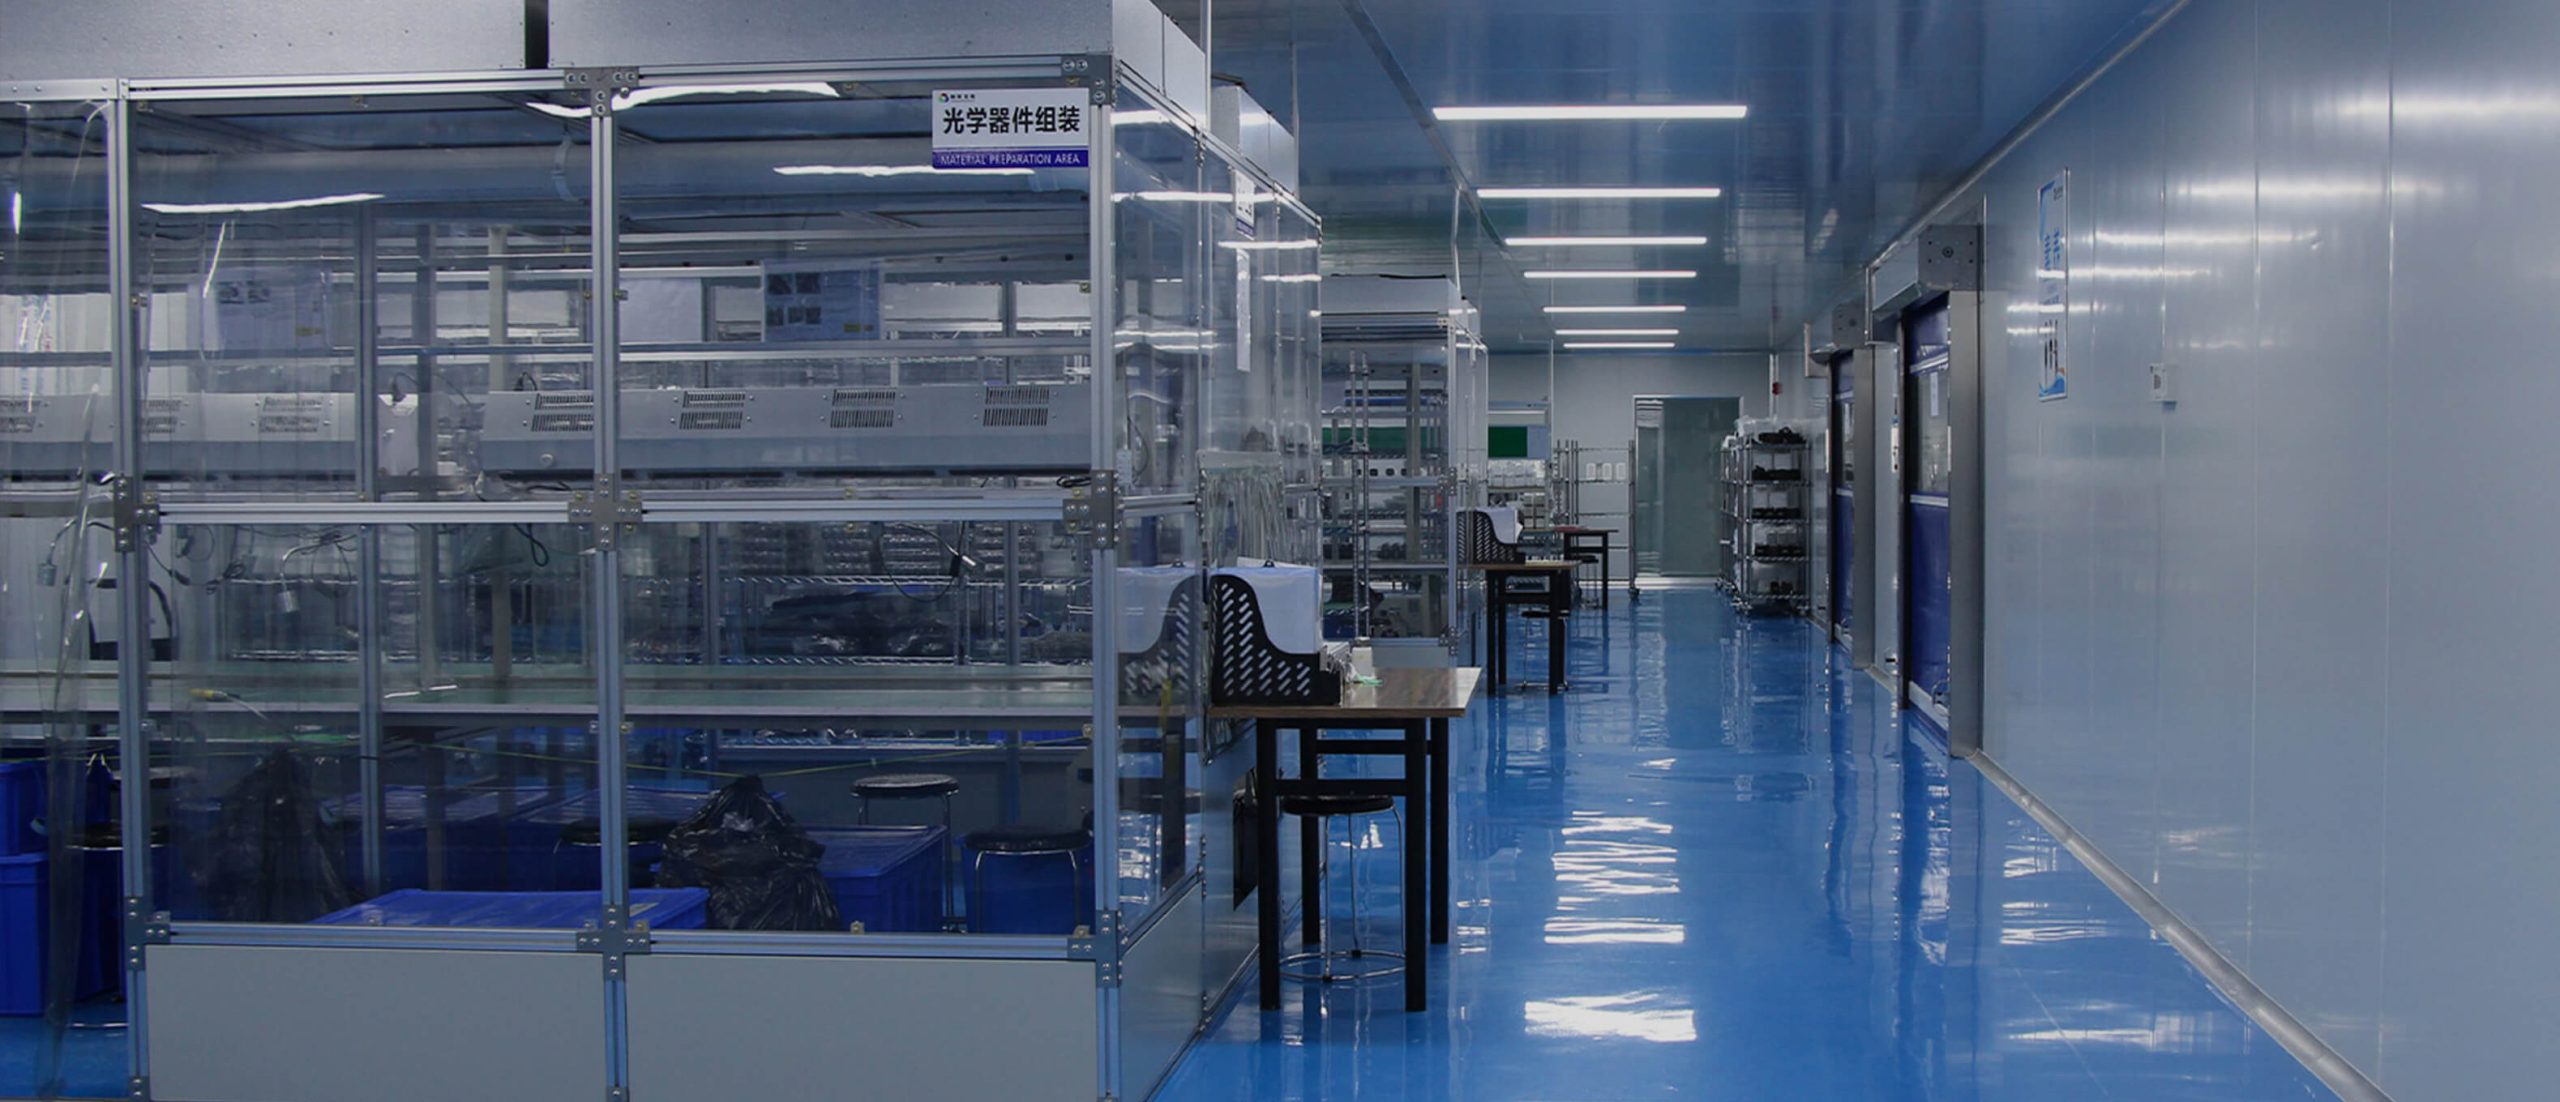
Toumei projector’s company materials describe a production system covering optical design, software development, motherboard hardware, structural design, mold development, assembly, and aging testing. Buyers can use those stages to ask where their selected configuration is controlled and which stages create records relevant to the order.
The same materials state that quality inspection and control take place during production, and that the R&D team handles product development, software design, quality control, after-sales work, and technical problems in use. This is a useful starting scope, not a zero-defect promise. Ask which roles and records apply to your projector project.
When discussing projector OEM/ODM services, send the checklist with the project brief. Ask the team to mark which checks are standard for the selected platform, which require a project-specific method, and which cannot be offered as written. Resolve those differences before the inspection date.
Ask Which Production and Inspection Records Apply to the Order
Request records that answer your release questions. Examples might include configuration identification, packing confirmation, a corrective-action note, or results from checks explicitly agreed for the project. Do not ask for “all QC documents” without stating the decision they need to support.
Name the person who can close each type of finding. A picture issue may need technical review; an accessory mismatch may need packing or material confirmation; artwork may need buyer approval. Clear ownership prevents a failed line from being passed between teams without resolution.
Close Findings Before Shipment Release
Hold a closing review with the current checklist, evidence files, corrective actions, and retest results. Every failed line should have one of three outcomes: corrected and passed on retest, accepted through an authorized deviation, or still open. The final category should not be hidden inside notes.
For corrected items, identify what was changed and which units or cartons were rechecked. For an accepted deviation, record who had authority to accept it and what scope the acceptance covers. For open items, state the next owner and the condition that prevents release.
Assign Actions, Retest, and Preserve the Final Record
Keep the original observation and add the retest beside it. Replacing “fail” with “pass” erases the path to closure. Store photographs and videos under stable references that appear in the checklist, then export a final copy that cannot be confused with an unfinished working version.
After release, keep the checklist with the approved sample and order records. If a later shipment uses a changed component, firmware, accessory, or pack, copy the method but create a new current record. A previous pass is not automatic approval for a different configuration.