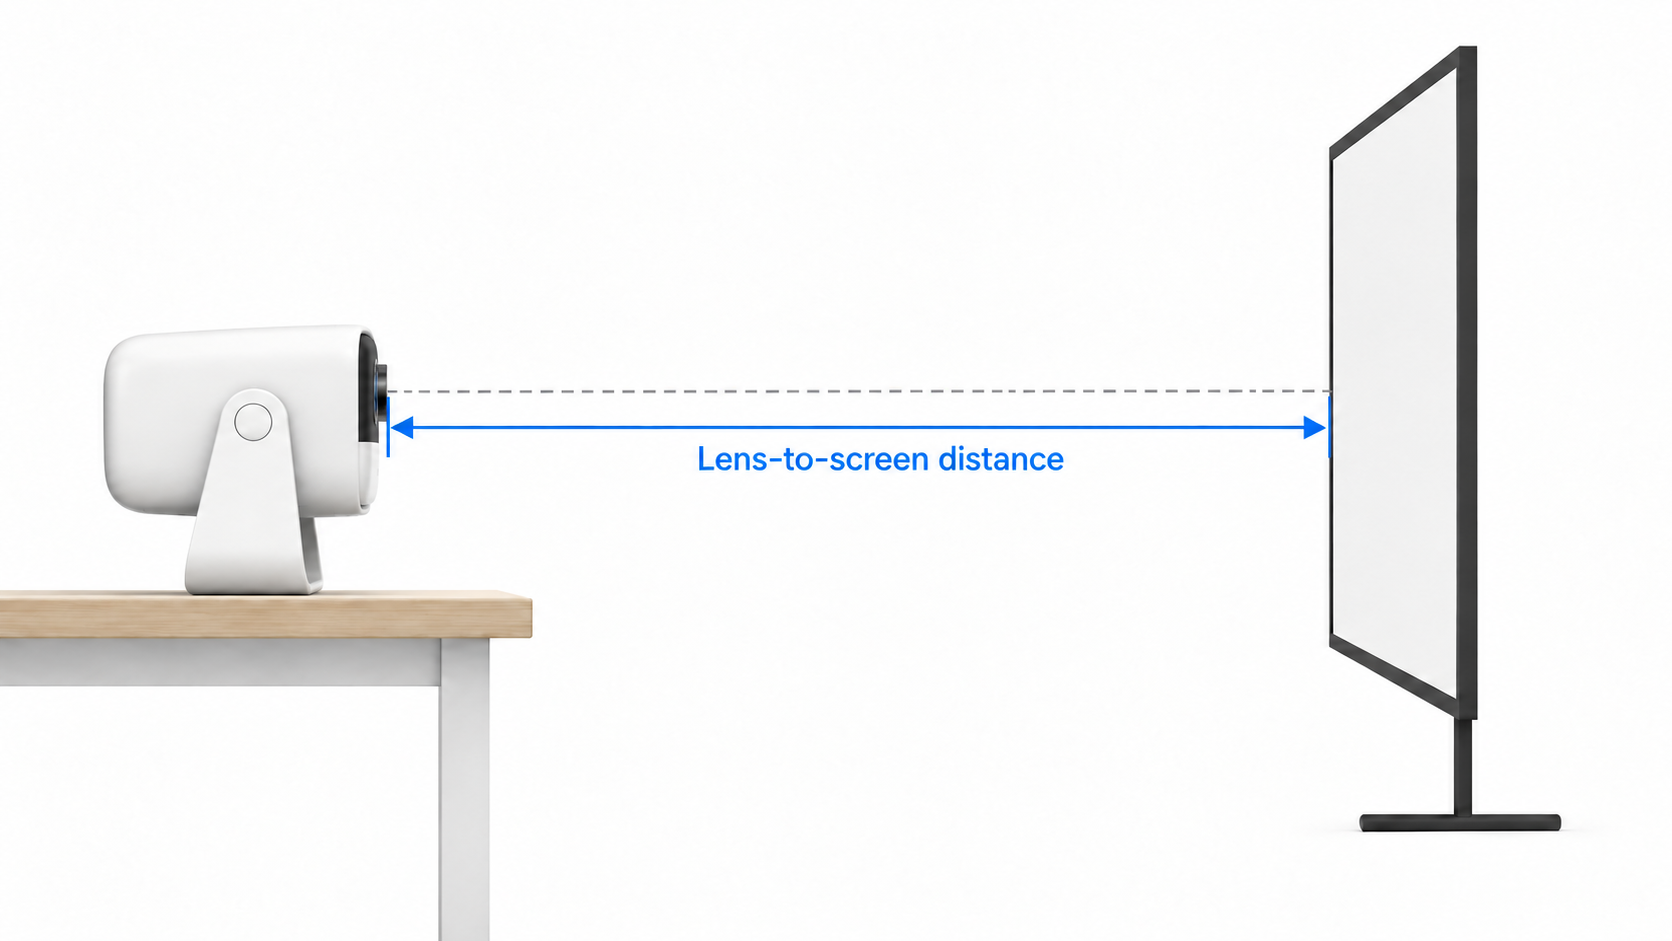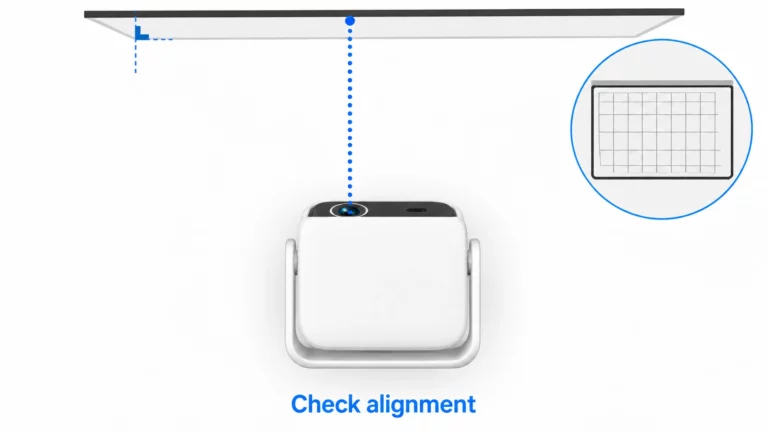
For a projector blurry at the edges, I'd check focus, source resolution and alignment before calling it a lens fault. If the lens isn't square to the screen, one area can look sharp while another is soft.
Start with a still slide. Note the soft area—perhaps its left-hand labels, while the title is readable—and add each adjustment afterward. This is a suggested comparison sequence; use the model's instructions for permitted adjustments.
Source Checks for a Projector Blurry at the Edges
The connection troubleshooting guide puts the two possibilities plainly: “A blurry image might mean the focus is off. Or maybe the resolutions don’t match.” I'd treat those as separate questions. Open the original slide on the laptop and check its output setting against the instructions.
Look at the projector menu too, if available. If that text looks clear but the slide doesn't, I'd note the difference and stay with the source check first. Try the same file on another laptop if you can; leave placement, picture size and focus alone during that comparison.
Square the Projector to the Screen
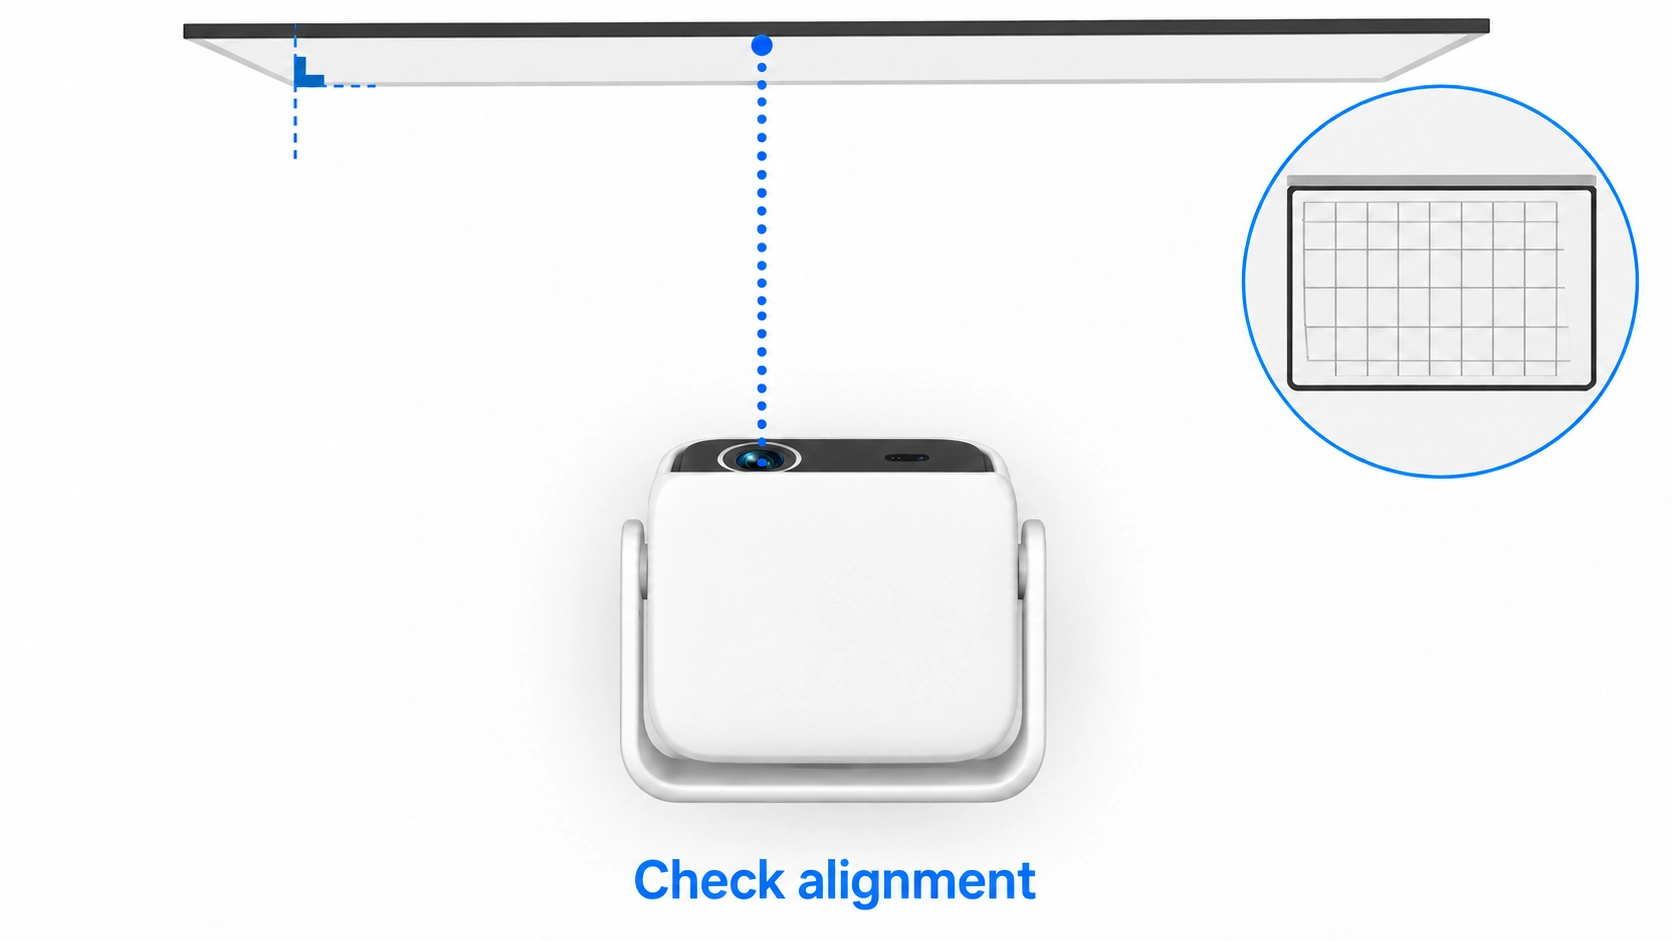
Take a whole-setup photo first. The alignment guide advises: “Center the lens with the screen. Keep the projector level.” I'd start there, using the model's permitted placement adjustments, and keep the original photograph for comparison.
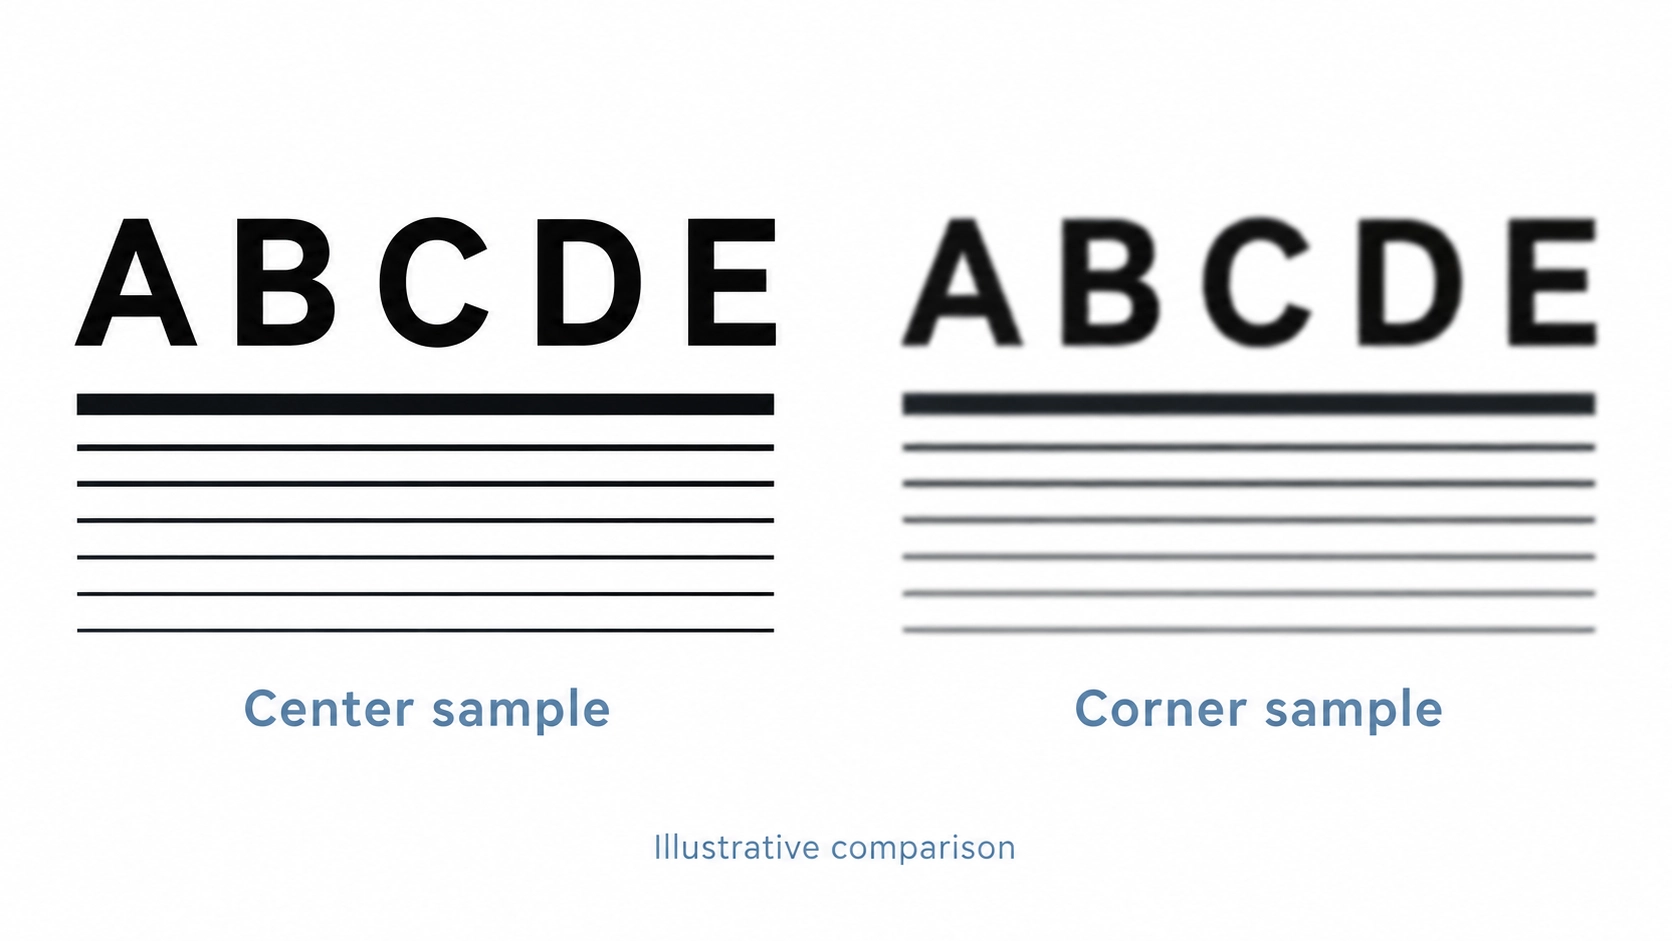
Pick letters at the center and corners. Note any sideways angle and inspect the screen for visible wrinkles. After a permitted placement change, return to those letters. I'd record an improvement on the left without declaring the other corners fixed. Ask the installer about a surface problem instead of guessing its effect.
Refocus After Moving the Projector
After a move, I'd refocus by the instructions and inspect the original text. Note the new position and any zoom change before photographing it. Review placement with the throw-distance guide.
Record the keystone setting separately and compare less correction where permitted. Leave the source file unchanged. For background, see this projection-lens discussion.
Keep Digital Correction Separate from Focus
Keystone correction is digital image processing: it reshapes the picture to appear rectangular. I'd treat a straighter outline and clearer corner text as two separate observations. After a shape adjustment, go back to the letters you chose. Describe their appearance rather than using “the picture is rectangular” as your focus result.
Report Persistent Uneven Projector Focus
If the soft area persists, I'd send the provider the model, source, output setting, picture size and test file. Include setup and close-up photos, with the adjustments listed in order. Keep steps that made no difference in the report. Ask what to try next; don't open the unit or name a failed component yourself.
Using one of our projectors and still seeing the same soft edge? Send the model, source settings and comparison photos to our technical support team. Add the steps you've tried so the enquiry starts with your actual setup.
Record One Change at a Time
I'd start a short record with the original file name, input device and output setting. Put a sketch of the picture beside it and name the areas you want to compare: center title, top-left label or bottom-right line, for example. Use those same names in later entries. “Better now” is too vague for the provider to know which detail you inspected.
For each permitted adjustment, write down what you changed and what you saw afterward. A useful entry might read: “Moved the projector to the marked position, followed the focusing instructions, then checked the same center and corner labels.” Fill in the actual observation yourself. This is a reporting format, not a promised outcome from that adjustment.
Keep the comparison small enough to repeat. I'd leave the original slide open while checking the menu, and note which one I am describing in each photograph. When trying another source device, record that device and its output setting too. If several settings have already changed together, begin a new comparison from a documented starting point instead of guessing which earlier change mattered.
Before requesting service, I'd ask someone else to read the record and identify the remaining question. Can they find the original file, the affected area and the last permitted adjustment? If not, add those details. Ask the provider whether they want the source file, photographs or another specific check for that model. Describe the symptom that remains; let them decide the next diagnostic step. Don't replace the ordered observations with a guessed component name.